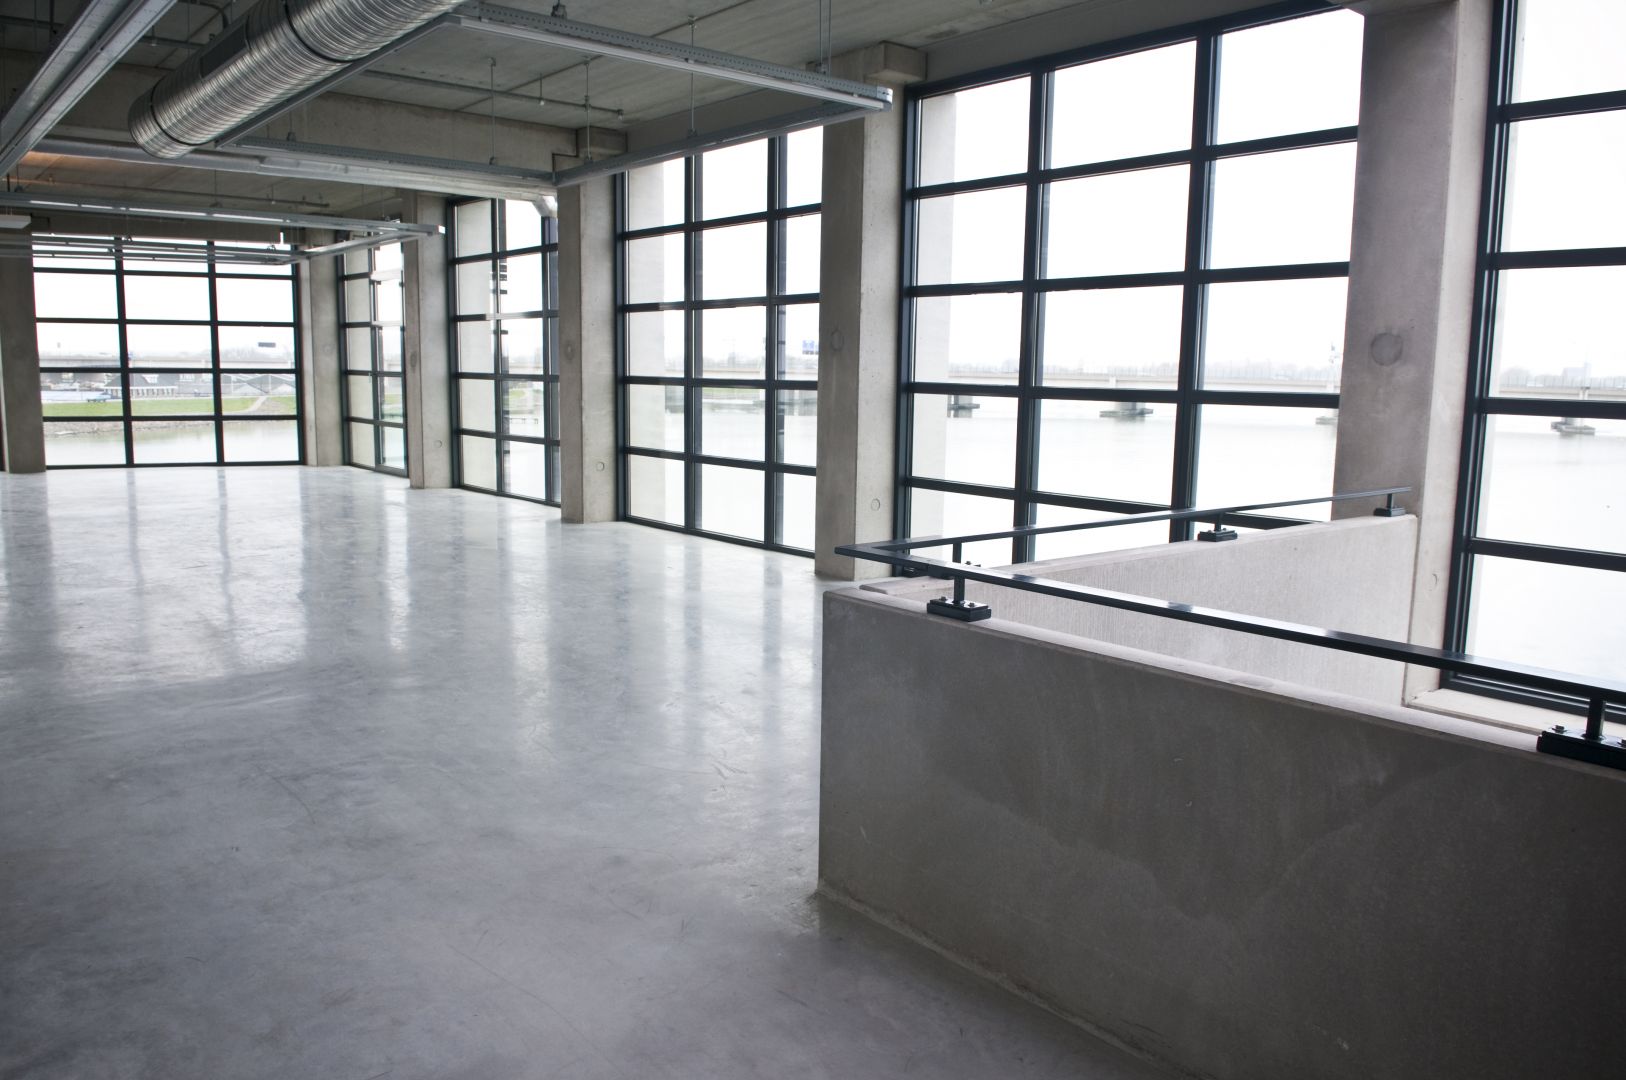
How to Finish a Concrete Slab
If you’re undertaking a DIY project that involves pouring concrete for the first time, there are few things you need to know to make sure your concrete is finished properly.
You can’t just pour your concrete and leave it, hoping it results in a smooth, clean finish all by itself. But with some simple tools and a few tricks of trade, you can give your concrete slab a professional, and most importantly, durable, finish.
Tools to finish your concrete
- A plank of wood (as long, straight and smooth as possible)
- A concrete bull float (a flat surface mounted on a long pole)
- A hand float (a smaller flat surface, with a short handle)
- A concrete edging tool (a small flat surface rounded on one side to smooth edges)
- A finishing trowel (flat finish) or stiff broom (brushed finish)
Step 1:
Use your plank of wood to remove any ‘overflow’ concrete. It’s useful to have another person to help here. Place your plank of wood across the concrete so it can rest against the form work. The plank should be longer than the concrete slab for this to work well. Then, start at one side and work your way across the slab, move the plank back and forwards across the concrete, as though you were sawing it. This will create a mound of excess concrete that can be pushed to the side and removed.
Step 2:
Take your bull float and gently smooth over the entire concrete slab to flatten out any rough bits. Start at one side and move the float back and forwards, holding it at a very slight angle to graze the surface. Then, using your edging tool, go around the sides of your concrete slab and smooth over the corners.
Step 3:
It’s important to cut control joints (lines cut into the concrete) into your concrete slab to stop it from cracking. They should be evenly spaced across the slab and should start in areas known to crack most, such as inside corners.
The joints should be about 25% of the thickness of the slab, so if your slab is 10cm thick, the joints should be about 2.5cm deep.
Step 4:
At this stage, you will notice some water start to bleed up to the surface. This is a normal stage in the curing process, and it’s important you wait for this water to evaporate before continuing to finish your concrete. Depending on the time of year and the weather, this may take a few hours, or it may take much longer, but it’s important to wait it out for the best finish.
Step 5:
Once the bleed water has evaporated, use your hand float to smooth over the entire area. Similarly to how you used the bull float, hold the hand float at a slight angle so it grazes the concrete surface, but don’t push it down too hard.
Step 6:
Once smoothed, you need to decide whether to broom finish or trowel finish the concrete. If the concrete surface will be left exposed and it’s outdoors, you will want a slightly rough surface so it doesn’t get slippery when wet. A firm bristled broom is best for this. Simply drag the broom over the concrete, overlapping each broom stroke as you move along the concrete to ensure you cover the entire surface.
For internal concrete, or for concrete that will have a final floor covering laid over the top, you might prefer a flat and smooth finish so use a trowel. Move the trowel back and forwards over the concrete, similarly to finishing plaster work or icing a cake!
Step 7:
Wait. Your concrete will take 28 days to cure or ‘set’, this is known as reaching it’s full compressive strength. However, it should be strong enough to walk on after 24-48 hours. It’s best to check with your concrete supplier, about the type of concrete and follow their recommendation as to how long to wait before walking or driving on it.
To ensure your concrete cures properly and doesn’t crack or collapse, it needs to retain its moisture, but not get too wet. Depending on the weather, you may need to cover the slab with a polythene sheet to stop the water evaporating or to keep the rain off, or you may need to keep it warm with an insulated cover to stop it freezing. Again, check with your concrete supplier, they’ll be able to tell you if you need to cover your concrete and with what.
Step 8:
After the 28 day curing process, you may want to apply a sealant to your concrete to protect it from the weather and make it easier to maintain. If you do this, follow the instructions on the sealant product for the best results.
All Mix Concrete
The team here at All Mix Concrete are on hand to help you with your DIY concrete project. We can discuss your project with you and recommend the right type of concrete for your requirements. We also offer a barrowing service, or pump hire if your build site is difficult to access and our friendly, expert team will be happy to share professional tips to help you get the best concrete finish. Simply give us a call today to get started!


