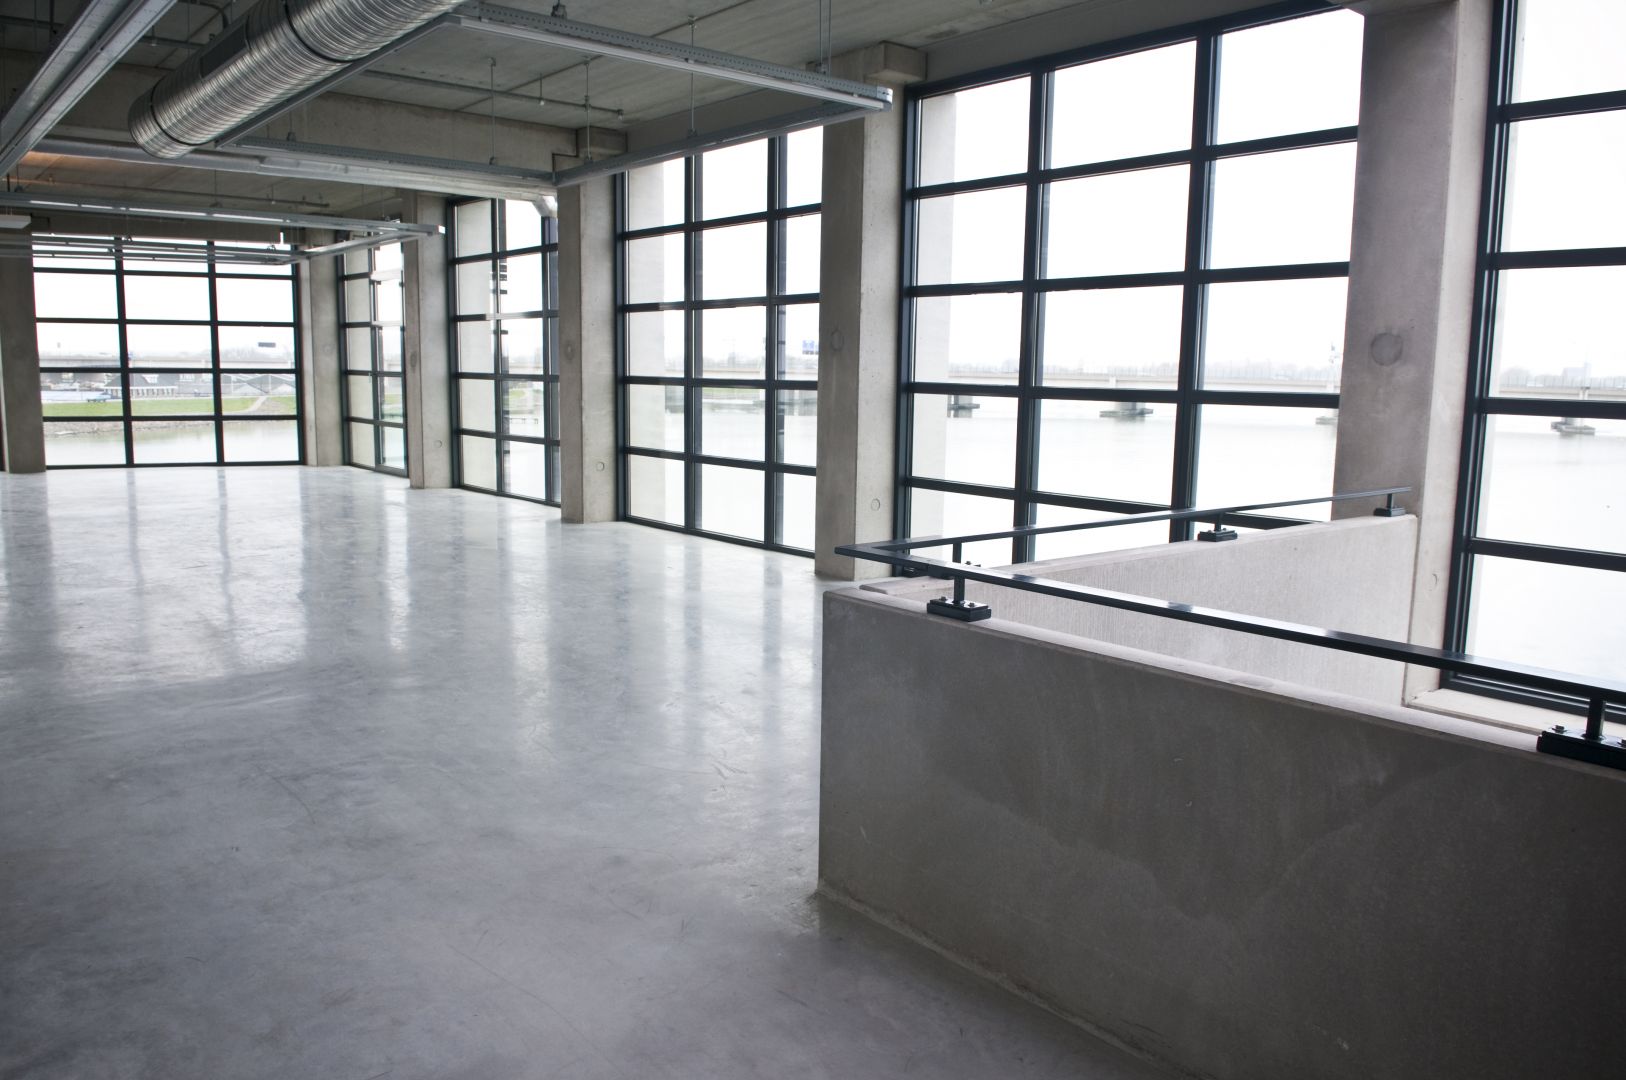
Floor screeds are used as the layer between the structural concrete and finishing materials, screed ensures that your surface is level and durable enough to endure the traffic it is likely to encounter. For this reason, focusing on getting the correct screed mix laid in the correct manner is important. Here are a few tips for making sure that you don’t suffer further down the line from bad floor screeding…
Prepare the area
Use duct tape to mark out the parameter of the floor space you are screeding, giving you a clear idea of the area and also protecting the floor outside this region. If possible, remove skirting boards gently using a chisel and hammer. Bear in mind that there is a strong chance you will not be able to reuse these boards, so if you are concerned about this then try to cover them as much as possible.
It’s important to remove any loose rubble and other small materials from the area in which the floor screeding is to take place. Use a durable wire brush to sweep stones and debris away, and a trowel to free fragments from cracks and holes. If there are any deep crevices (around or more than 5 or 6 mm) then you may need to fill these in before continuing to ensure a level surface. Simple ready-mixed mortar should be fine.
Next, it is advisable to remove any stains from oil or grease. A scouring brush and some detergent should suffice; making sure the area is allowed to dry fully before moving on. In some cases, applying a concrete sealer to the floor at this stage is advisable. Again, leave ample drying time.
Select the right type and mix of screed
This is perhaps the most important step of the process. There is a wide range of available screed types out there, including fast drying screeds, free flowing screeds and other structural materials. Traditional screed is generally the most suitable for domestic and light commercial use, with a mix of 1:3-5 cement-to-sand. Mix the compound in a bucket for a couple of minutes to ensure that all materials are fully amalgamated – this is a suitable technique for smaller floor areas, but larger spaces will require a mixer of some kind (such as a free fall or forced action mixer), as the screed dries quickly and will need to be produced at a faster rate.
Lay the Screed
Pour the mix over the section of floor you wish to begin with, and level it out using a float (a flat, handheld board that’s available from most DIY and home improvement shops). Make sure that you leave yourself an exit point, and don’t screed yourself into a corner! Continue sequentially around the area, and allow plenty of time to dry before walking over the surface – at least 24 hours.
Professionals
The tips above are intended mainly for domestic use, for those with an intermediate to advanced level of DIY skill and experience. If your work doesn’t fit these requirements, it is imperative to call on professional assistance. Here at All Mix Concrete, we provide high quality floor screed mixes for all use, and our expert team are on hand to carry out floor screeding across Manchester, Warrington, Liverpool and the North West, mixing all materials onsite to save you from over or under ordering.
Get in touch today for more information.


